Welcome to the first Phenomena in Focus post. An unanswered question can stop planning in its tracks. A term or phrase becomes a wall. The purpose of this series is to tackle common questions about phenomena. Our responses will just scratch the surface, but the goal is to get you unstuck and moving forward.
Anchoring Vs Lesson Level - What’s the Difference?
These two terms show up constantly in NGSS materials. Teachers who are new to phenomenon-based instruction often encounter them without much explanation, and the confusion is understandable. Both are observable events. Both drive learning. The difference is grain size.
An anchoring phenomenon is big and complex. It takes an entire unit to explain. A lesson-level phenomenon is focused. It addresses one piece of the larger picture.
Understanding that distinction changes how you plan, how you sequence, and how students experience coherence across a unit.

What is an Anchoring Phenomenon?
An anchoring phenomenon is an observable event that anchors all of the learning in a unit. Students encounter it at the start and spend weeks trying to explain it. It is the thing the unit is ultimately about.
A good anchor requires students to understand several science ideas working together before they can explain it. Penuel and Bell (2016) put it plainly: an anchor should be too complex for students to explain after a single lesson, and the explanation should sit just beyond what students can figure out without instruction.
That complexity is the point. Students should not be able to search online and find a quick answer. The anchor should generate real questions — the kind that require investigation, modeling, and evidence to answer.
At strategic moments throughout the unit, the class returns to the anchor. Which of our initial questions have we answered? Which are we still working on? What new questions has our learning raised? That revisiting is not review. It is how students experience their own growing understanding.
What is a Lesson Level Phenomenon?
Because the anchor is complex, students cannot approach it all at once. Lesson-level phenomena make the work possible by focusing students on one piece of the larger explanation at a time.

A lesson-level phenomenon is an observable event that can be explained using a smaller number of connected science ideas. Students investigate it, build an evidence-based explanation, and then connect what they figured out back to the anchor.
These are not random activities. Each lesson-level phenomenon should address a specific aspect of the anchor that students cannot yet explain. Taken in sequence, they build toward a complete explanation.
Think of it like a jigsaw puzzle. The anchor is the completed image. Each lesson-level phenomenon is a section of that puzzle. Students do not see the full picture until they have worked through the pieces.
How They Work Together: A Night Sky Example
The Anchor
Students create a sky observation journal in their science notebooks. Over several days, they record what they notice in the sky during the day and at night. When they share their journals with the class, a common set of observations emerges: the sun, clouds, the moon, planes during the day; the moon, stars, and artificial lights at night.
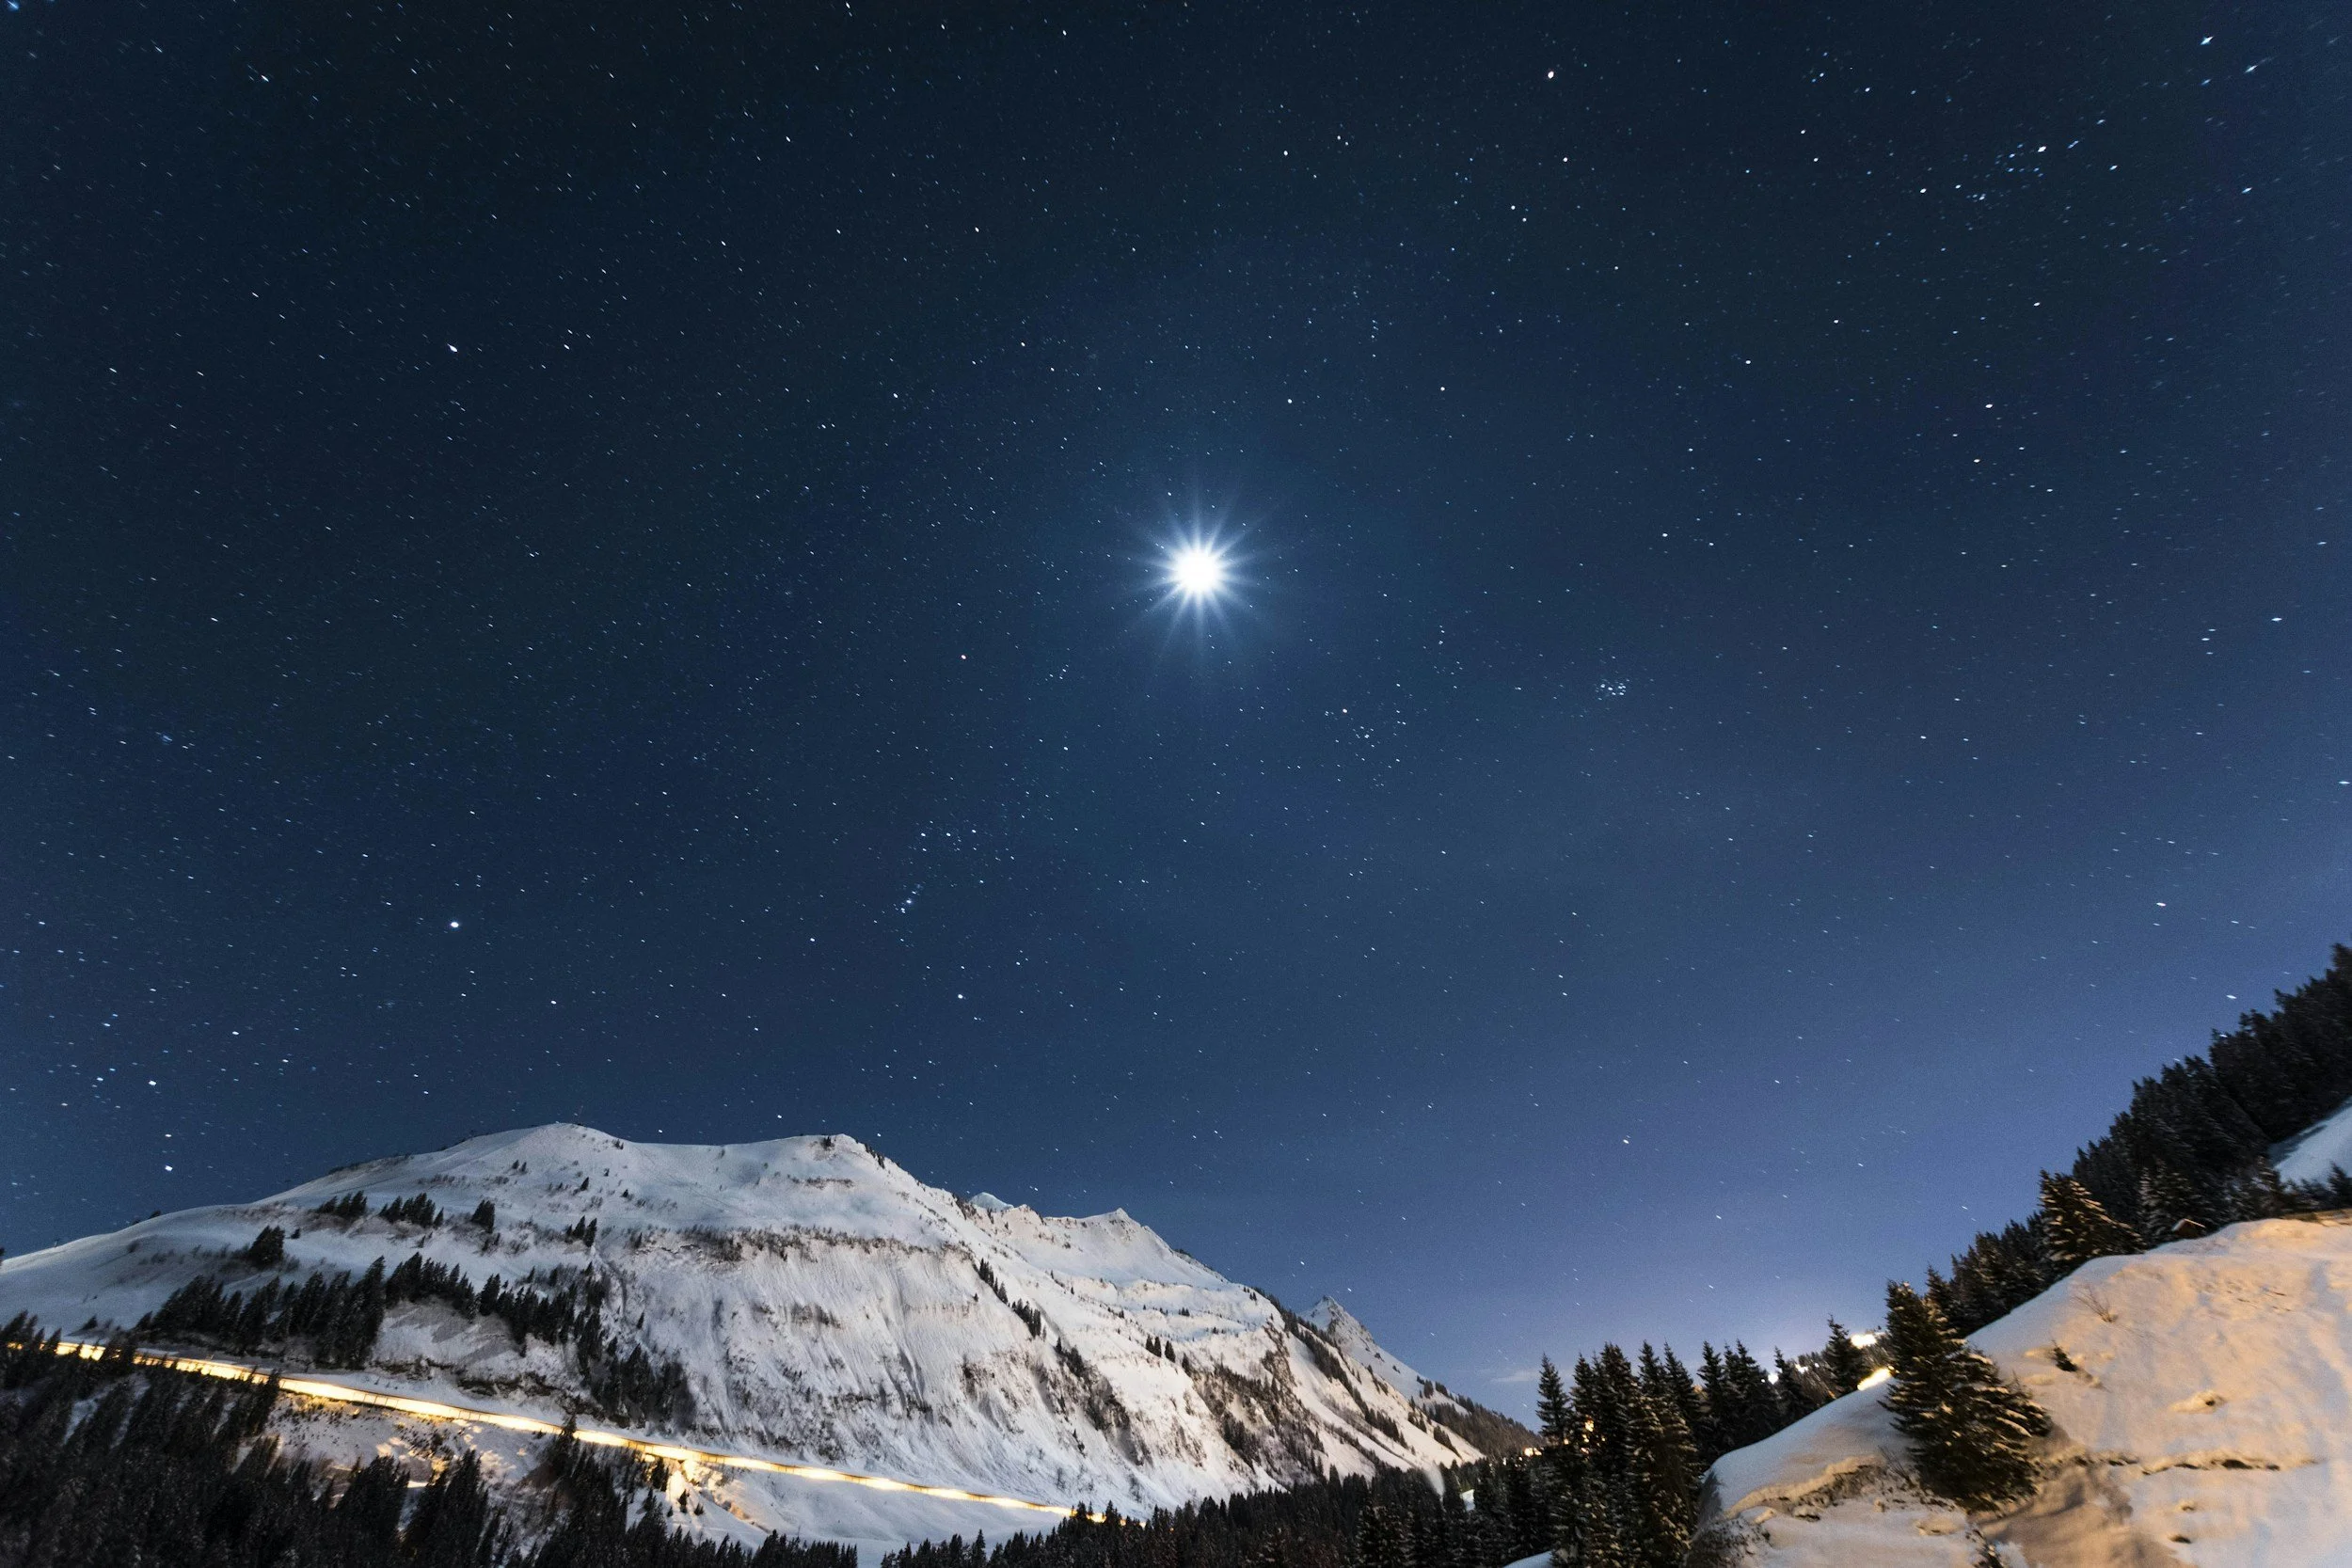
To build a shared experience, the class examines photographs and data from night skies taken in different locations — a city, a suburb, a dark rural field. The images look strikingly different from each other. Some show thousands of stars. Others show very few. Some stars appear bright. Others are faint. Some have visible color. The same sky, observed from different places, looks like a completely different phenomenon.
Students ask: Why do stars look brighter from some places than others? Why do some stars appear bigger? Why are some stars different colors? Where do the stars go during the day? Why is the night sky so different depending on where you are?
These questions cannot be answered in a single lesson. They require students to understand light, distance, and the properties of stars. That is what makes this a strong anchor. It is observable, genuinely complex, and personally relevant — most students have looked at the night sky and wondered about it.
Three Lesson-Level Phenomena That Build Toward the Anchor
Lesson 1 — Lights look different from different seats
Before class, arrange flashlights of different intensities around the room. Turn off the overhead lights. Ask students to sit in different seats and observe. From the same room, the lights look strikingly different in brightness depending on where students are sitting.
Students observe that the apparent brightness of a light depends on both its intensity and its distance from the observer. They investigate the relationship between distance and apparent brightness and build a simple model.
Connection to the anchor: when we look at stars in the night sky, we are not seeing their actual brightness. We are seeing apparent brightness — how bright they look from where we are. Two stars that look equally bright might be very different in their actual luminosity. Two stars that look different in brightness might actually emit similar amounts of light.
Lesson 2 — Not all light bulbs produce the same amount of light
Students examine data on light bulbs with different wattages and light output. They notice that identical-looking bulbs can produce dramatically different amounts of light. They build a model connecting energy input to light output.
Connection to the anchor: stars, like bulbs, vary in their actual luminosity. A dim-looking star might be intrinsically bright but very far away. A bright-looking star might be closer and less luminous. Students begin to distinguish between apparent magnitude and actual luminosity — the two variables they need to explain the night sky images from the anchor.
Lesson 3 — The color of a heated object tells us something about its temperature
Students investigate how the color of an object changes as it is heated. They observe that objects shift from red to orange to white as temperature increases. They examine data showing the same pattern in different contexts.
Connection to the anchor: the colors we see in stars are not random. They reflect surface temperature. Blue-white stars are hotter. Red stars are cooler. Students can now return to the anchor images and make evidence-based claims about the stars they are seeing — their distance, their luminosity, and their temperature.
Putting It Together
Look back at the three lessons in this sequence. Each one targeted something specific: how distance affects apparent brightness, how actual luminosity varies between light sources, how color signals temperature. None of those lessons was chosen at random. Each one addressed a piece of the anchor that students could not yet explain. Together, they built the explanatory toolkit students needed to return to those night sky images and say something true about them.
That is the design logic. The anchor tells students what they are trying to explain. The lesson-level phenomena give them what they need to explain it. Strip either one out and the coherence collapses — you are left with either a compelling mystery that goes nowhere, or a sequence of activities that adds up to nothing.
This is also what separates a coherent unit from a collection of related lessons. Related lessons share a topic. A coherent unit shares a question — one that students are genuinely trying to answer, one that gets more answerable as the unit progresses, and one that students can finally address with evidence they gathered themselves.
Phenomenon-based instruction is not about finding interesting events to show students. It is about designing a path from genuine confusion to hard-won understanding.
Post written by TJ McKenna & Chris Zieminski for ngssphenomena.com
Comment below, or email ngssphenomena@gmail.com.